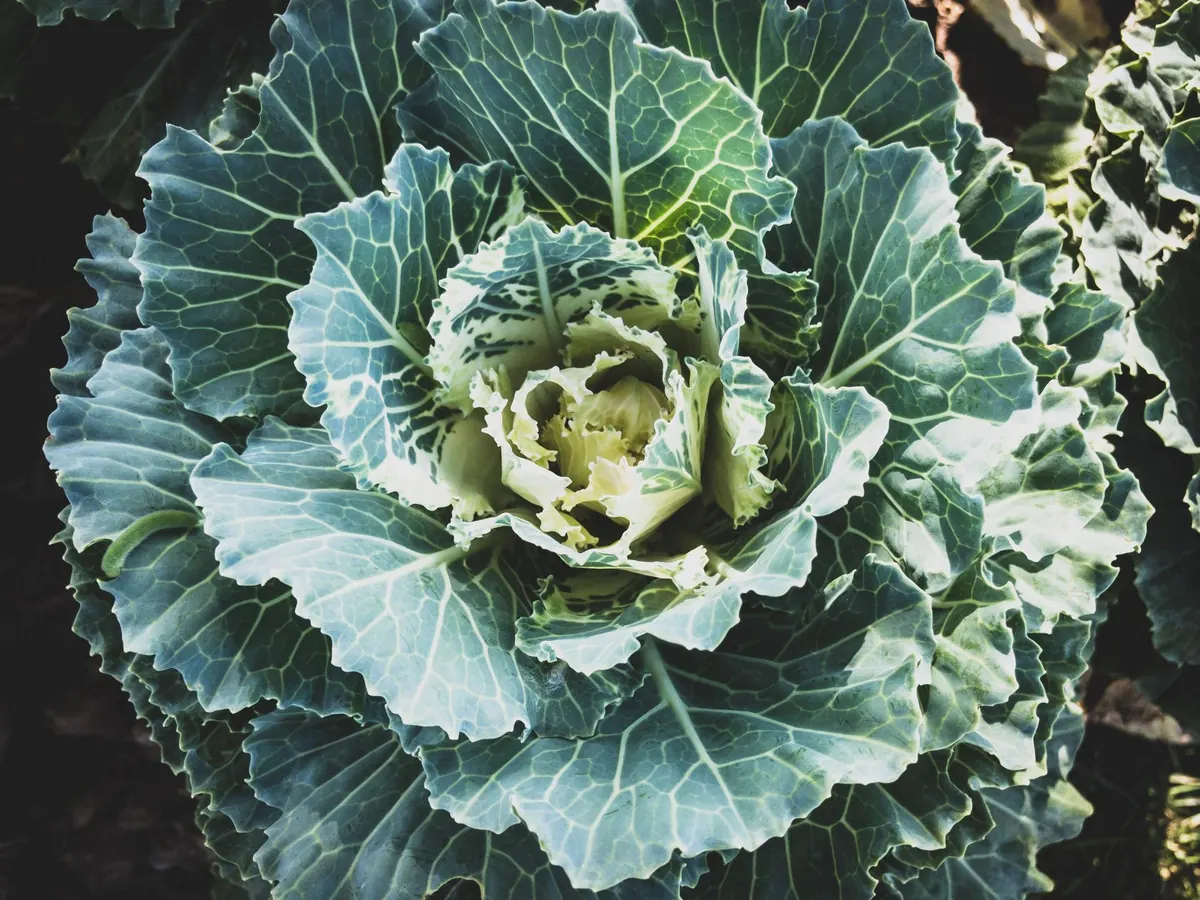
Sea kale is one of the most underused vegetables on the British coast, and it grows best where the wind bites and the soil drains fast — which describes most island gardens. It is a perennial brassica, native to shingle beaches around our shores, with blue-green leaves, honey-scented white flowers in early summer and, in spring, pale forced shoots that were once a favourite of nineteenth-century kitchen gardens. Give it a sunny, free-draining spot and it will crop for years.
Why sea kale suits island gardens
The plant's natural home tells you everything about how to treat it. Sea kale grows on shingle, cliff tops and storm beaches, sending a deep taproot down through stones to find moisture. That means it shrugs off salt-laden wind, tolerates drought once established and actively dislikes sitting in wet, heavy ground.
On an island, that last point matters most. Mild, damp winters are no problem in themselves, but waterlogged clay is fatal. If your soil is thin and sandy, or stony with a bit of peat over rock, sea kale will feel at home. It also earns its place as a pollinator plant: the froth of white flowers in June brings in bees and hoverflies when little else is open, and the seed pods that follow are corky and light, built to float away on the tide.
Sowing sea kale
Seed is the easiest route, and fresh seed germinates readily — often within two or three weeks. Older seed can be slower and erratic, so if you are using a packet from the back of the shed, sow it anyway but expect gaps. Soak the seed overnight in plain water before sowing; the coat is hard and the soak softens it.
Starting in deep pots
Sow from February to April, or again in late August and September if you have a sheltered spot. Use deep modules or root-trainer-type pots rather than shallow trays, because the taproot runs straight down and resents being coiled. A free-draining seed compost with a handful of horticultural grit mixed through suits it well. Keep them somewhere bright and around 15–20°C, and prick seedlings out as soon as they are handleable, before the root has a chance to tangle.
Sowing where it will grow
On light, stony ground you can sow directly into the final position in late spring. Thin the seedlings to 60–90cm apart — these are big plants, easily a metre across when mature, and crowding them produces weak, leggy growth. Mark the row, because young sea kale disappears among weeds and the plants die back completely in winter.
Planting out and site preparation
Move young plants out while they are still small, ideally before the taproot has filled the pot. Any check at this stage sets them back badly; they are not a crop that enjoys being moved twice. Choose the sunniest, best-drained spot you have, and if your ground holds water in winter, plant on a slight mound with grit and garden compost worked in beneath.
Dig in plenty of well-rotted compost but avoid heavy nitrogen feeds, which push soft, sappy leaves that the wind shreds. A mulch of storm-cast seaweed is traditional on island plots and works well; give it a quick rinse if you are spreading it around very young plants. Water through the first summer, then leave the plant to find its own water.
Blanching: the trick that makes sea kale worth growing
The leaves are edible but coarse and bitter; the real prize is the blanched shoot, grown in darkness so it stays pale, crisp and sweet. Start once plants are at least two years old — three is better.
- In late winter, clear away old, tatty leaves and any debris around the crown.
- As new shoots break the surface, usually between February and April depending on how far north you are, place a blanching pot over the crown. An upturned bucket, a large flowerpot with the drainage holes blocked, or a double bucket with the inner one painted black all work. Sink the rim into the soil so no light creeps underneath.
- Weight the cover against wind — a stone on top is enough.
- Leave for roughly three to four weeks, checking after a fortnight. Warm spells speed things up considerably.
- Harvest when the shoots are 15–20cm tall and still tightly packed. Cut just above the crown with a sharp knife.
- Remove the cover straight away and let the plant grow on in full light for the rest of the year.
- Do not force the same crown two springs in a row. With a few plants, rotate so each gets a year off.
Harvesting and eating
A mature plant gives you several harvests across the season, not just the forced shoots.
- Forced shoots: the spring treat. Steam for four to six minutes and dress with butter, lemon and black pepper. Treat them like asparagus rather than cabbage.
- Young leaves: take a few in spring before they toughen. Cook them; raw sea kale is harsh and unpleasantly bitter.
- Flower shoots: cut the budding stems before the flowers open and cook them like purple sprouting broccoli.
- Flowers and seed pods: leave most of them. They feed pollinators and give you seed for new plants.
Be restrained with first- and second-year plants. Let them build a root system before you take anything much.
Pests, weather and winter care
Pigeons will strip young leaves in a morning, and cabbage white caterpillars are fond of it in late summer. Netting is the simplest answer. Flea beetle can riddle seedling leaves with small holes; keep plants growing steadily and they usually outgrow the damage. Slugs and snails graze new shoots, so check under covers before you replace them.
Salt spray does no harm at all, but young plants benefit from a windbreak for their first season. As a brassica, sea kale is theoretically susceptible to clubroot, so avoid ground where cabbages, sprouts or swedes have suffered from it. Do not try to divide established plants — the taproot makes a mess of it. Take root cuttings instead in late winter: lift a few pencil-thick roots, cut into 5–8cm lengths and lay them horizontally just below the surface of gritty compost.
Leaves collapse after the first hard frost and the plant vanishes until spring. Clear the debris, mulch the crown and make sure water cannot pool over it through the wettest months.
A crop to plant once
Sea kale is a long-term resident. A well-sited plant can crop for a decade or more, so choose its place properly and leave it alone. Two or three crowns are ample for most households — enough for a few feeds of forced shoots in spring and plenty of leaves besides.
Buy seed or young plants from a reputable supplier, and leave the wild colonies on the shingle alone; uprooting wild plants is not something to do, and the beach populations are worth more where they are. Get a batch started this spring, keep them watered through their first summer, and you will be cutting your own pale shoots long before the mackerel arrive.
Photo: Tharatip Sukee / Pexels